One of the project I was esteemed doing on substance designer was creating a trim sheet. First of all, if you are not familiar with trim sheet, it is simply multiple texture on one image, not overlapped but side by side or top to bottom. Well that’s may be what I came up to define. But in detail, a trim sheet texture is a comprehensive and efficient approach to optimizing the rendering of 3D or 2D game assets. Instead of using separate textures for individual objects or elements within a game, a trim sheet combines multiple textures into a single, larger image. This consolidated texture not only reduces the number of draw calls and improves rendering performance but also minimizes memory usage. I would recommend this video from polygon academy if you want to know more and how to make a trim sheet. It is really interesting topic and I learnt a lot from their video series. It is not sponsored, rather a courteous mention for sharing lessons with awesome detailed contents.
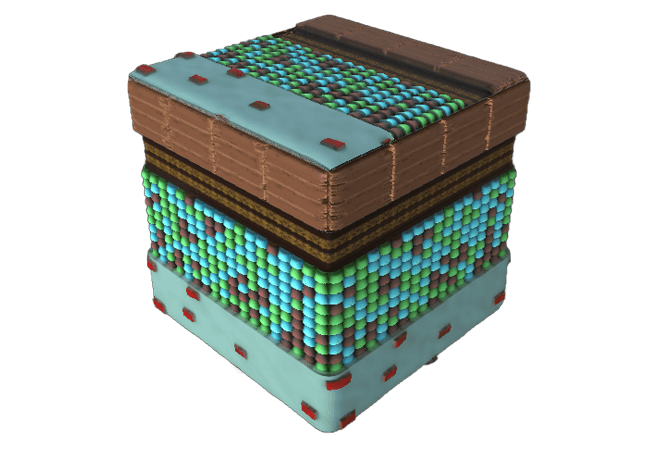
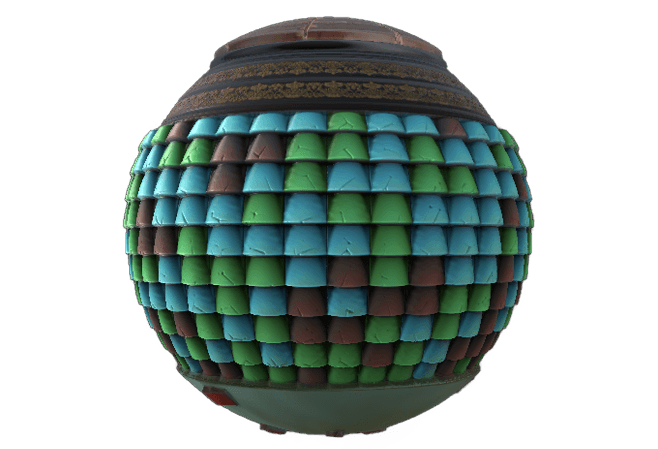
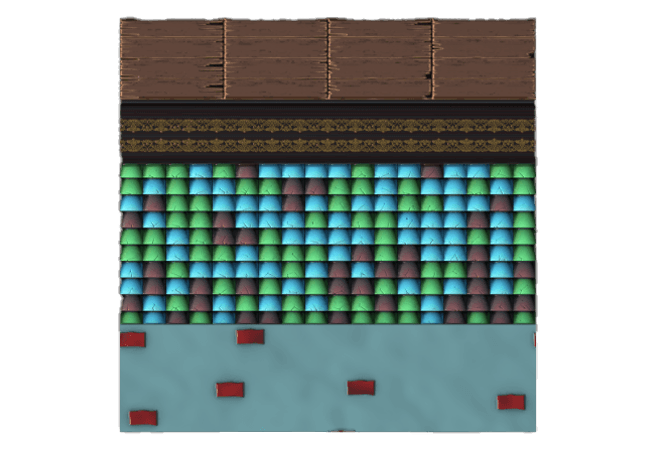
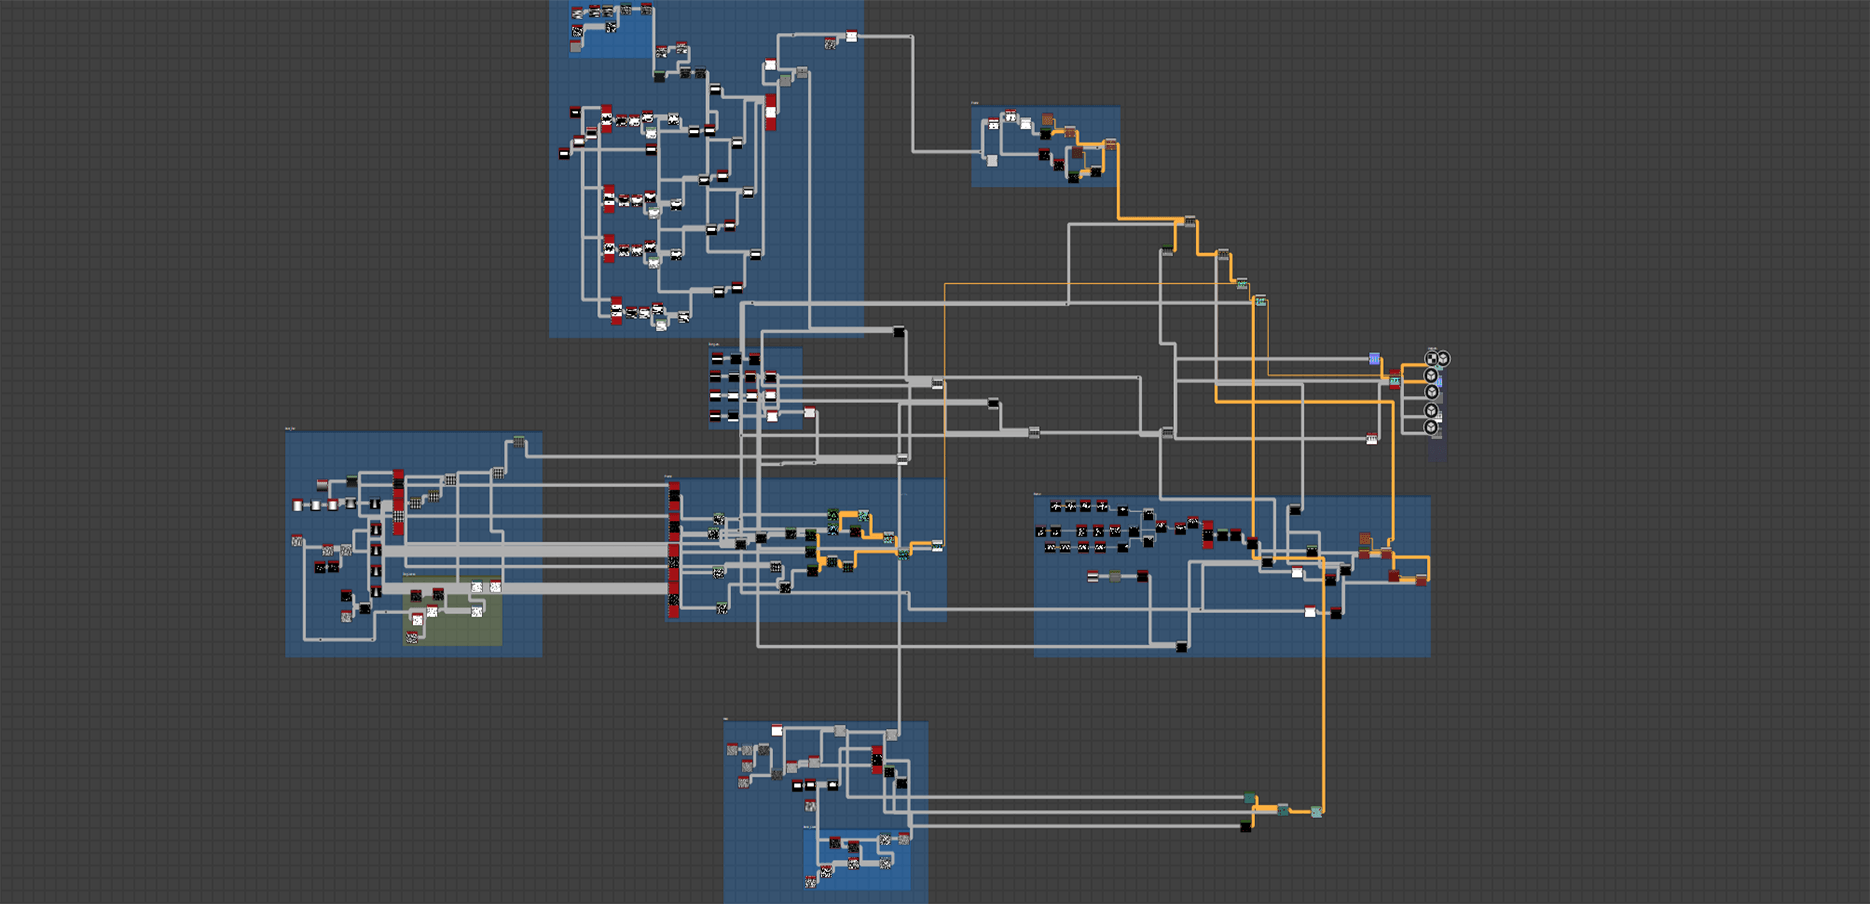
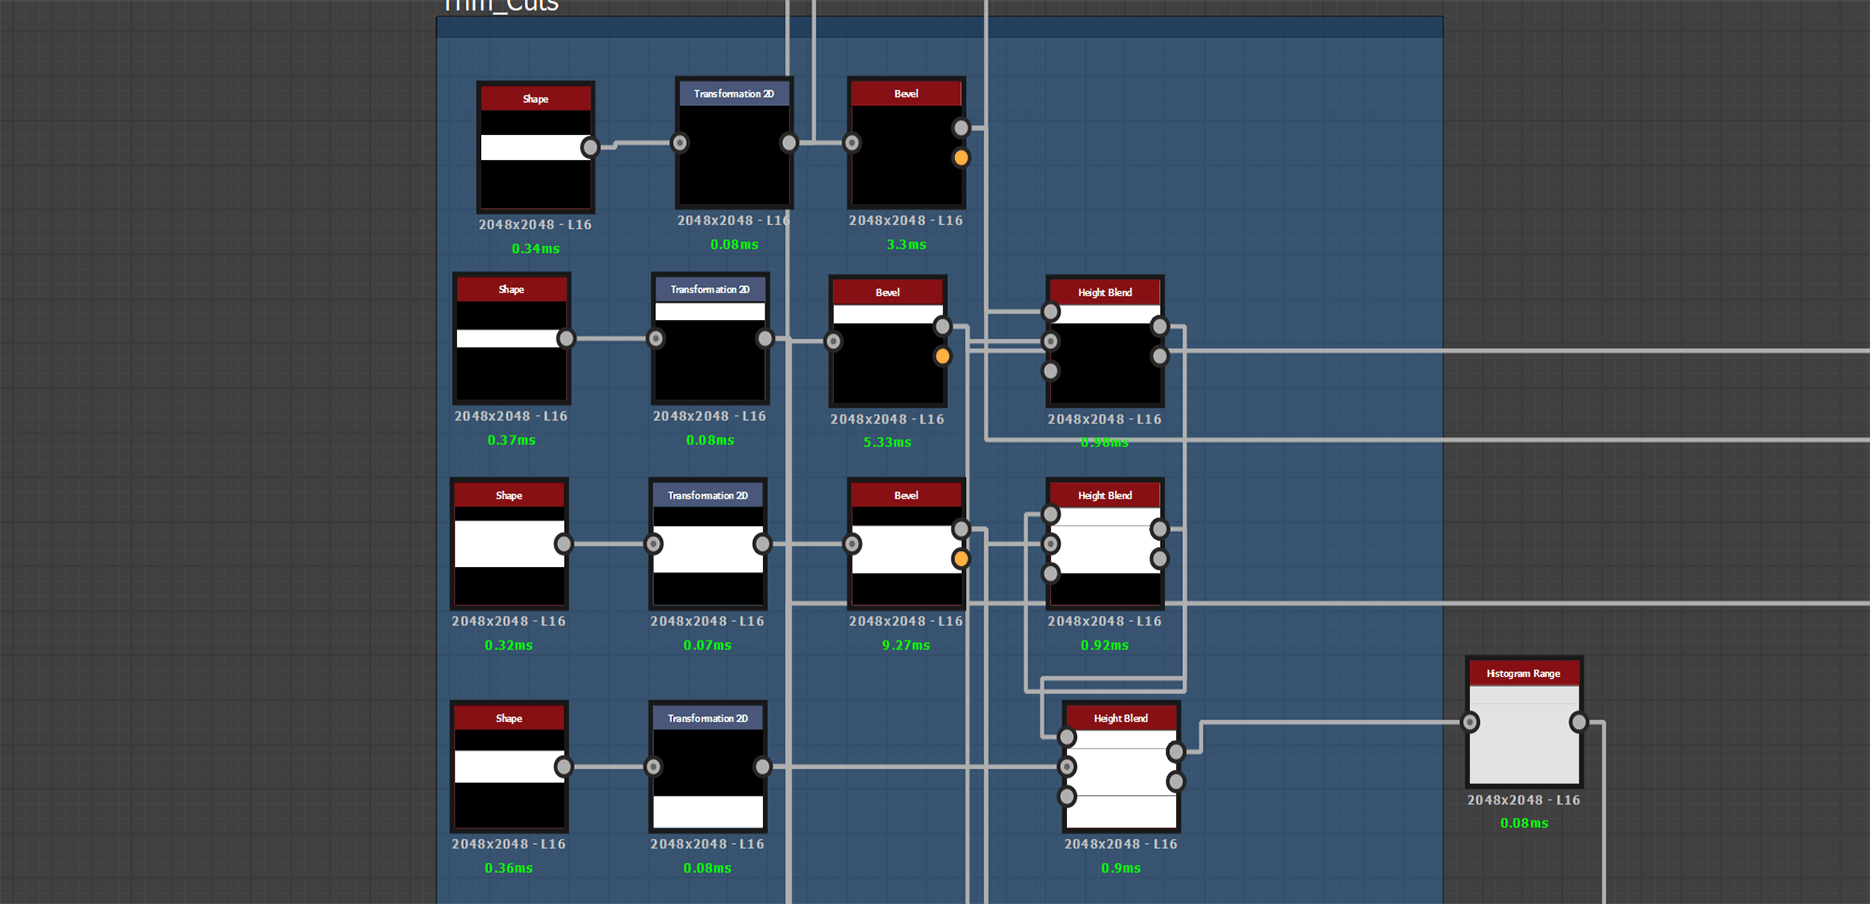
For trim sheet first of all I needed cut outs for different textures. It is recommended to make a 3D cut outs with measurement. But as it was experimental, I started doing it on designer with shapes without any measurement. If you check my nodes (or noodles (?)), there you may have noticed bevels added in all layers. It provides the edges slope and sense of height. Otherwise the texture will look just flat. While I was working on this trim sheet, discovered this “Height Blend” node inside designer which is really handy when combining different layers and you don’t want to struggle with subtract or multiplication from normal blend node.
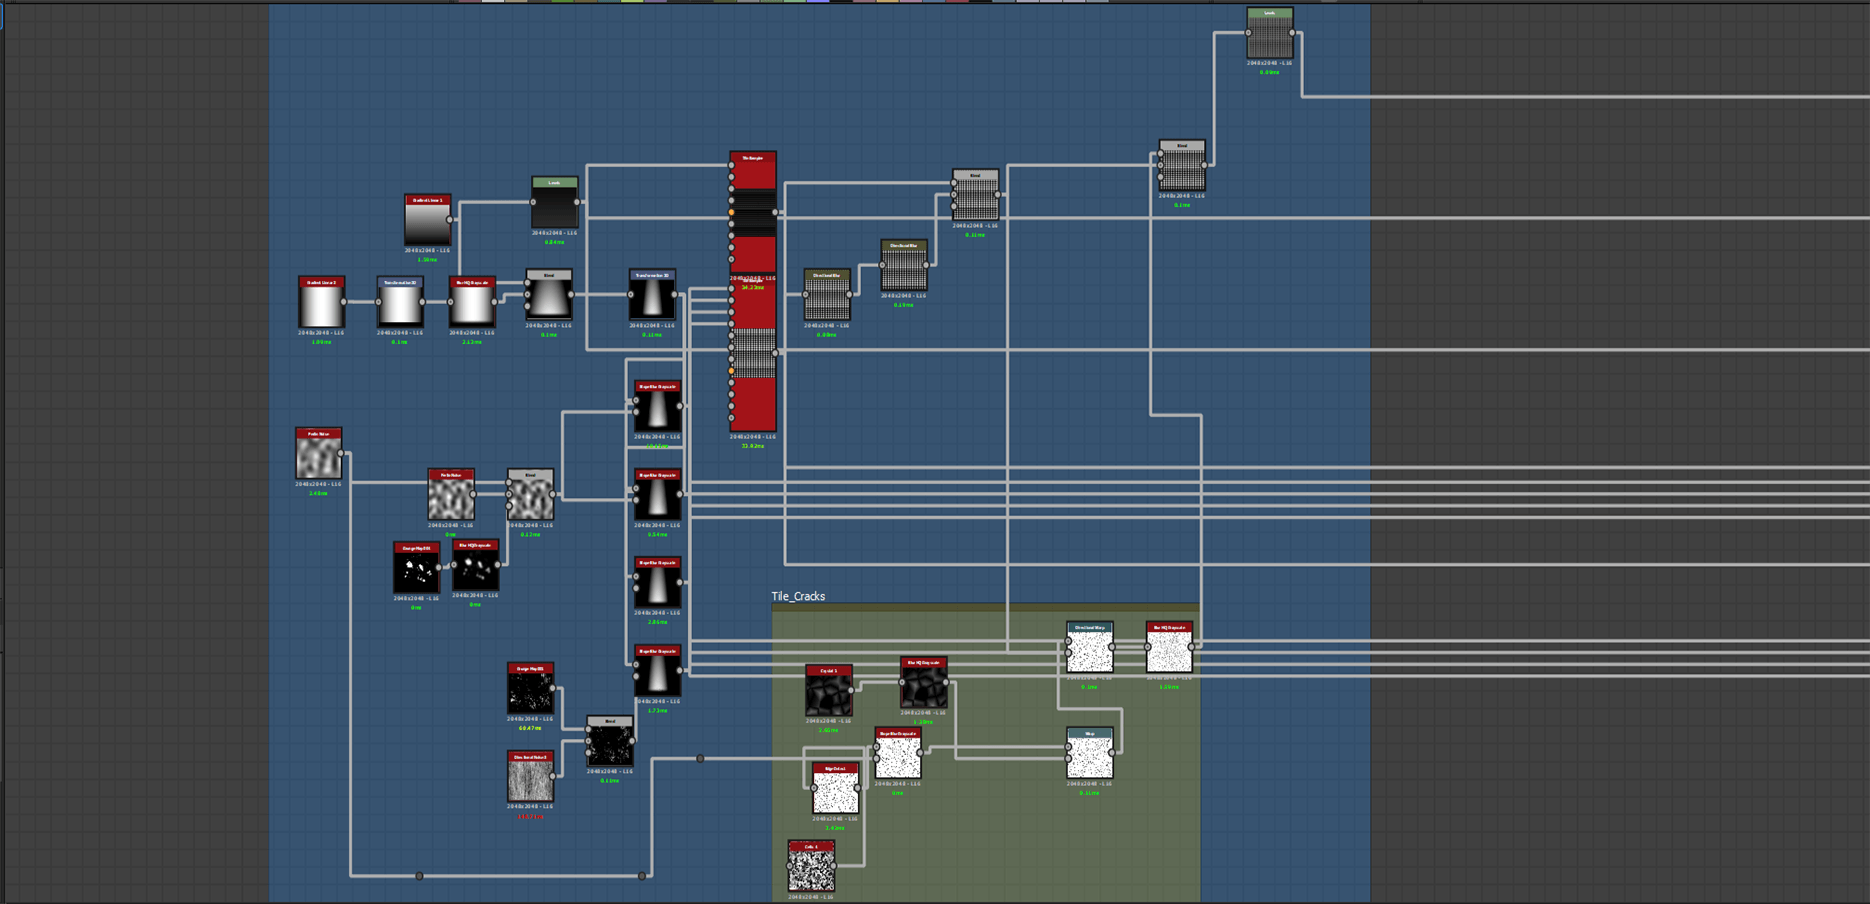
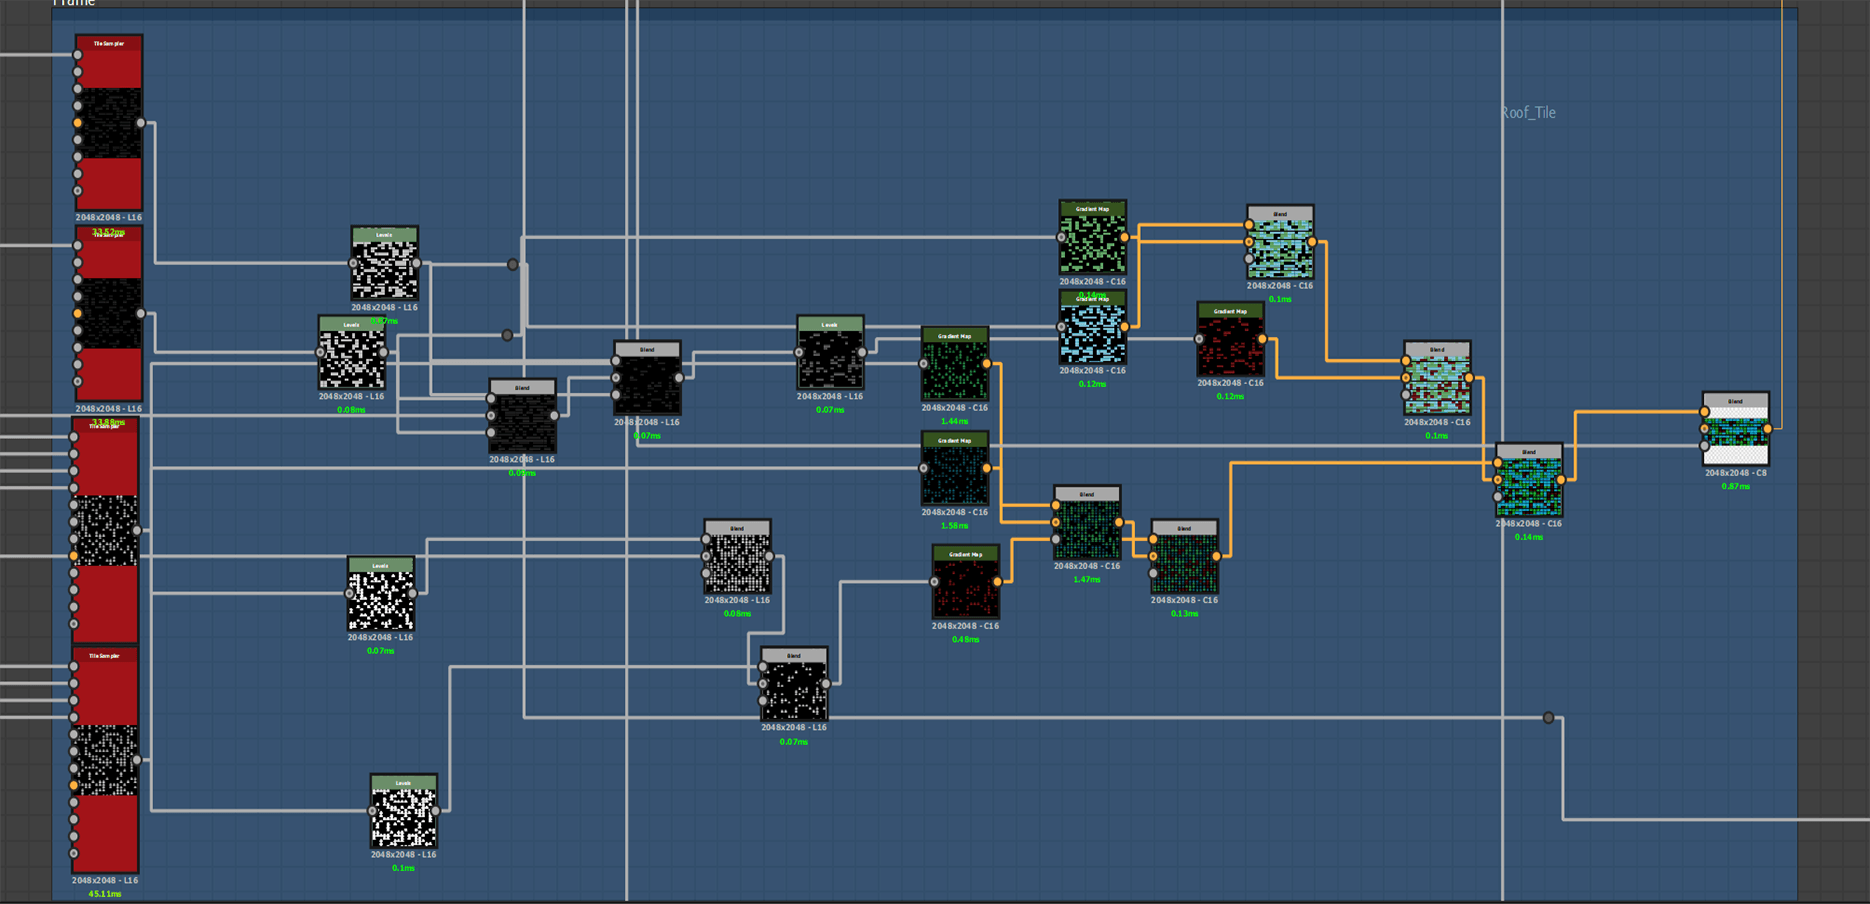
Most of the layers were made with shape manipulation, but I would like to mention two specific layers, the roof top tiles and architectural ornamentation. The roof tiles were made from manipulation of vertical and horizontal gradients. Then it was sent to tile sampler node for repetition. But I was baffled when wanted to apply textures. So I came up with a method to masking random tiles. First, I duplicated the main tile sampler node twice and set different random masks to each of them from the inside of node’s color section. Then one of the duplicated nodes was subtracted from the main node and the other duplicated node was subtracted from this new resulted node. That way I got three random group of tiles where I can use three random color. I could use noise mask to produce randomness, but that could overlap the side tiles and I did not want that to happen.
Now, when worked on architectural ornamentation, I used outsourced bitmap images for the design. When an image is imported in substance designer in .jpg or .png format, it will probably consider it as a color input. Thus we need to add a grayscale conversion node first to make it work as height map. After that I have found that using histogram, the images edges can be sharpened to reduce pixels around edges. Then a blur node can be used for smoother transition around edges.
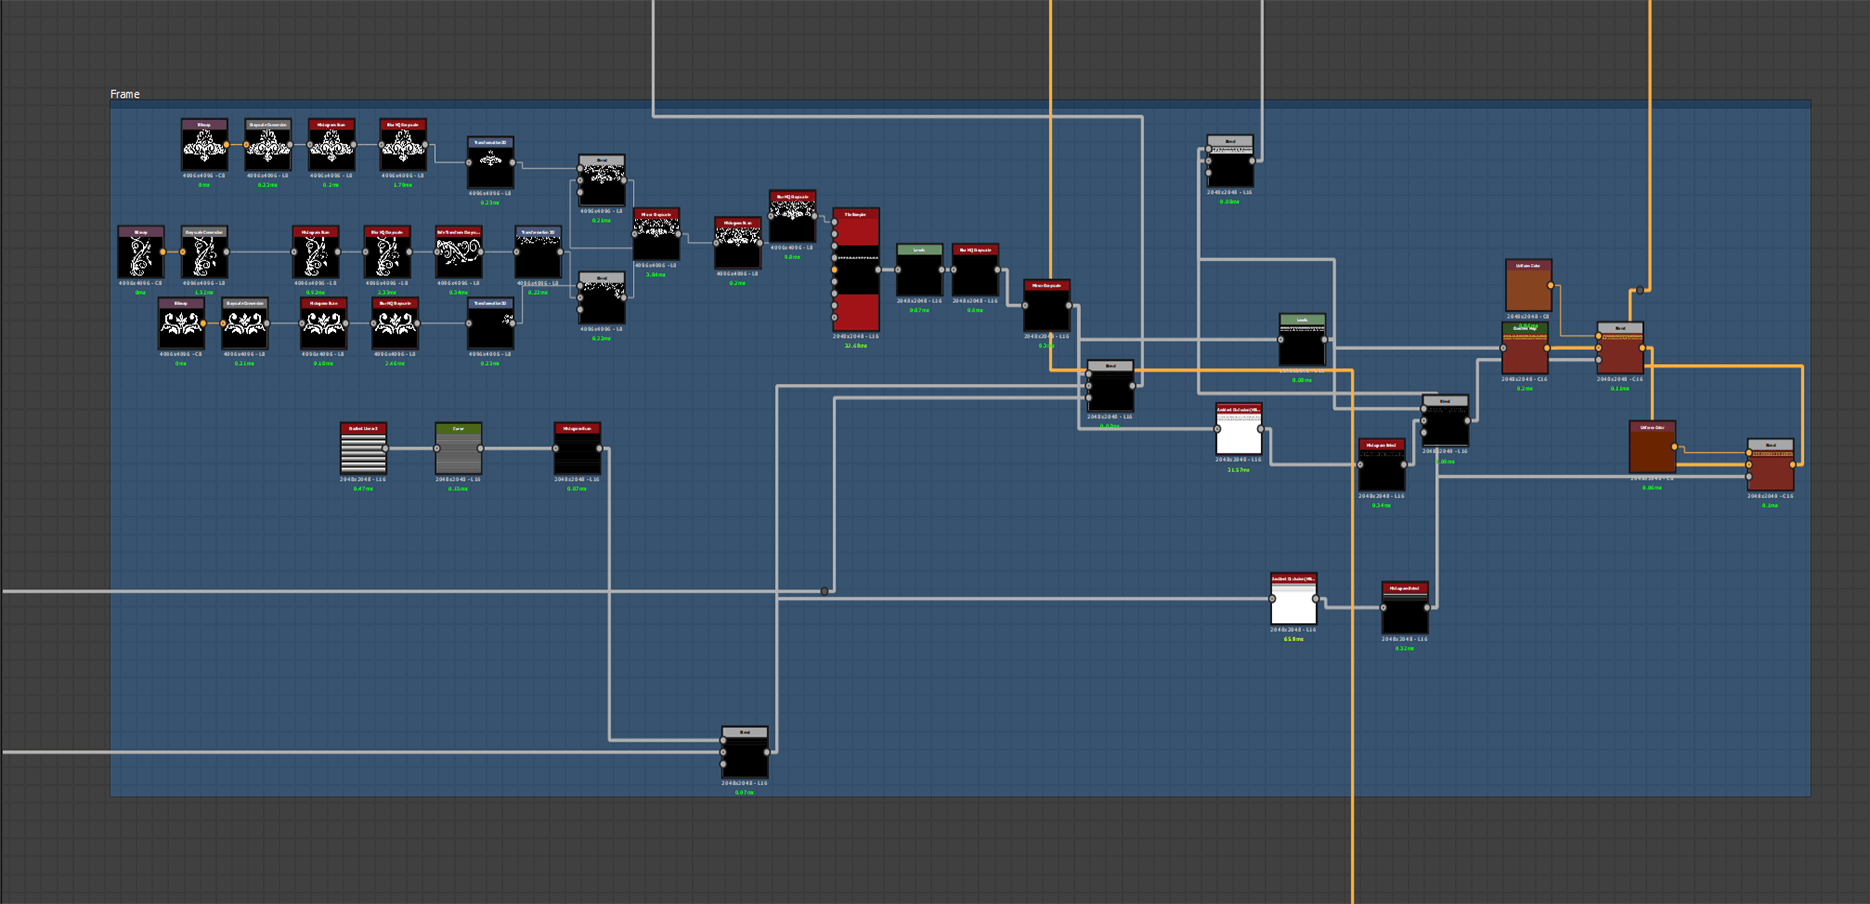
Not everything in substance designer needs to be procedural and make from scratch. For example, if I made this design inside designer, from scratch it could be massive loads of nodes and quite complex down the path. That’s why I used three different set of design images and combined them to make a new one. I loved how the tile sampler node worked like array to make this design continuous for this trim sheet.
