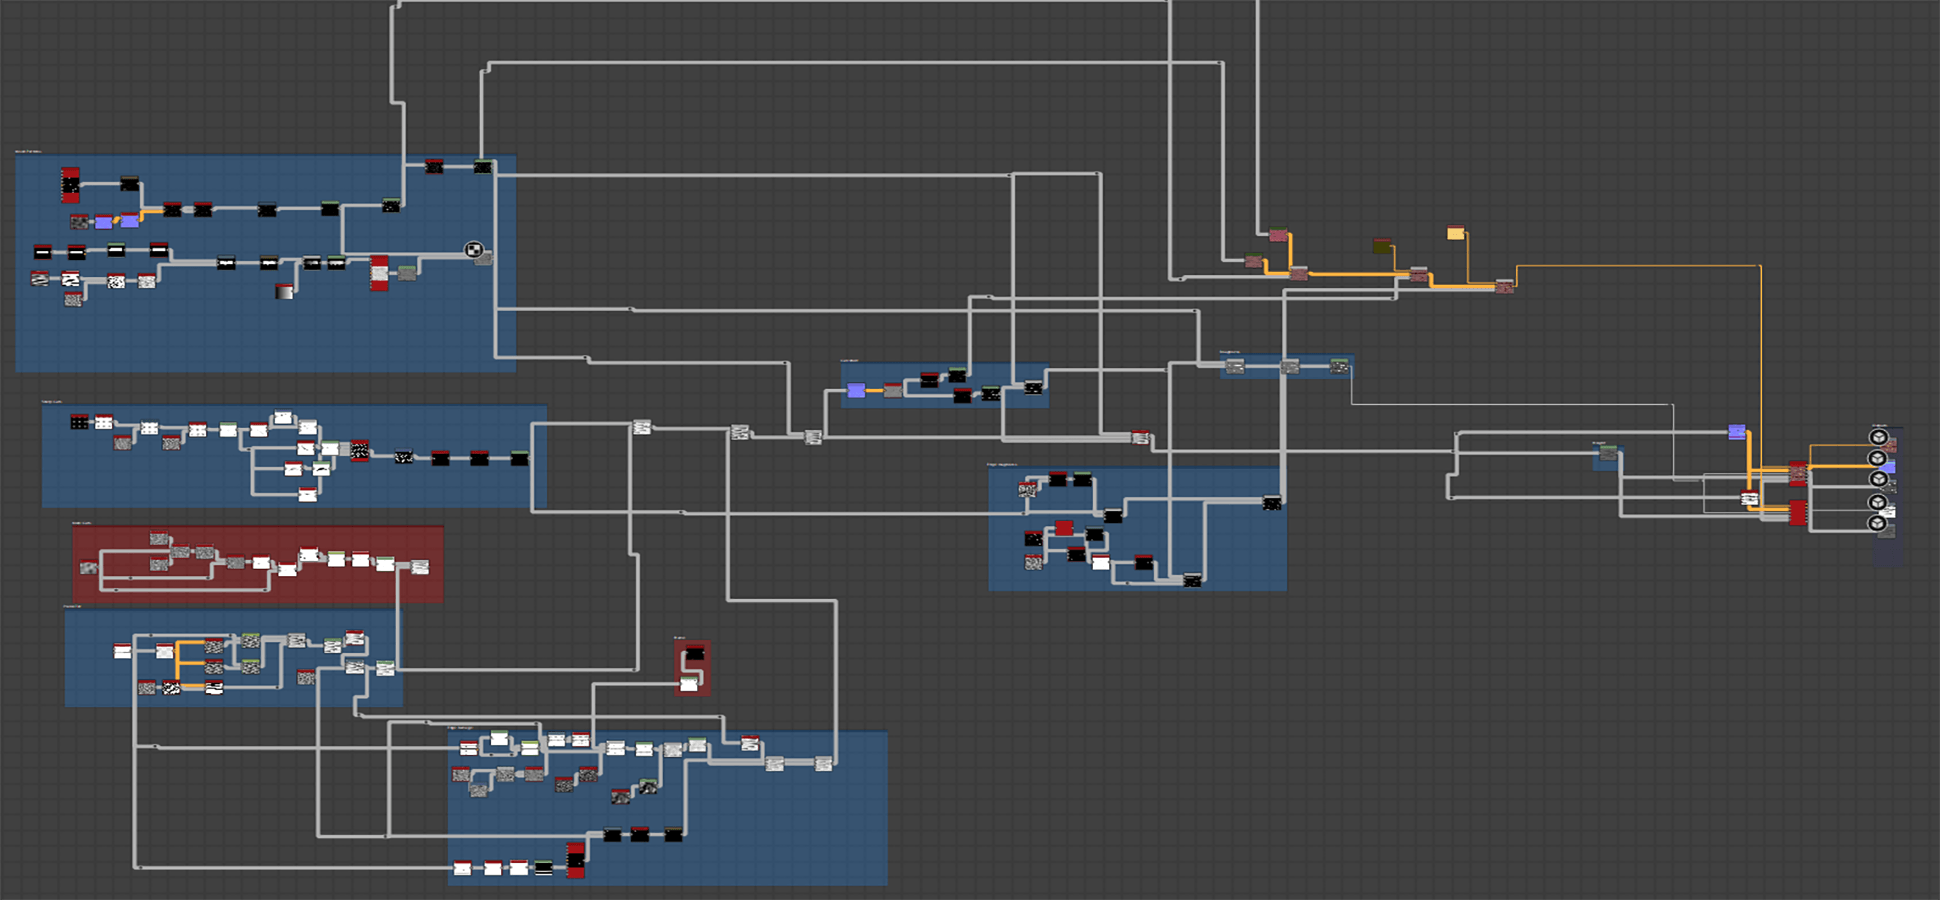
I always have soft spot for stylized arts and wanted to make some myself. This stylized wooden tiles texture was one of the works I had a great deal of pleasure doing. There is no set of rule for stylized artworks, but most of these tends to have smoother surface with only eye caching details than real life objects. Also they consist of a broad range of color combination to make it attractive to viewers. This wooden tiles texture was an effort to simply achieve that sort of effect.
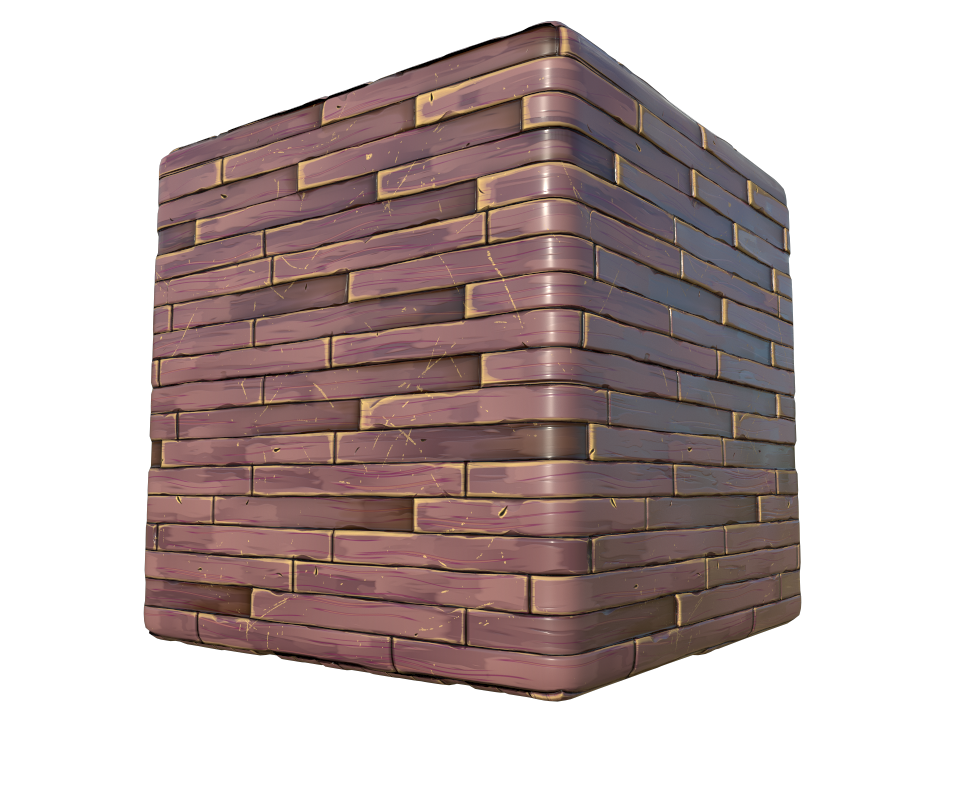
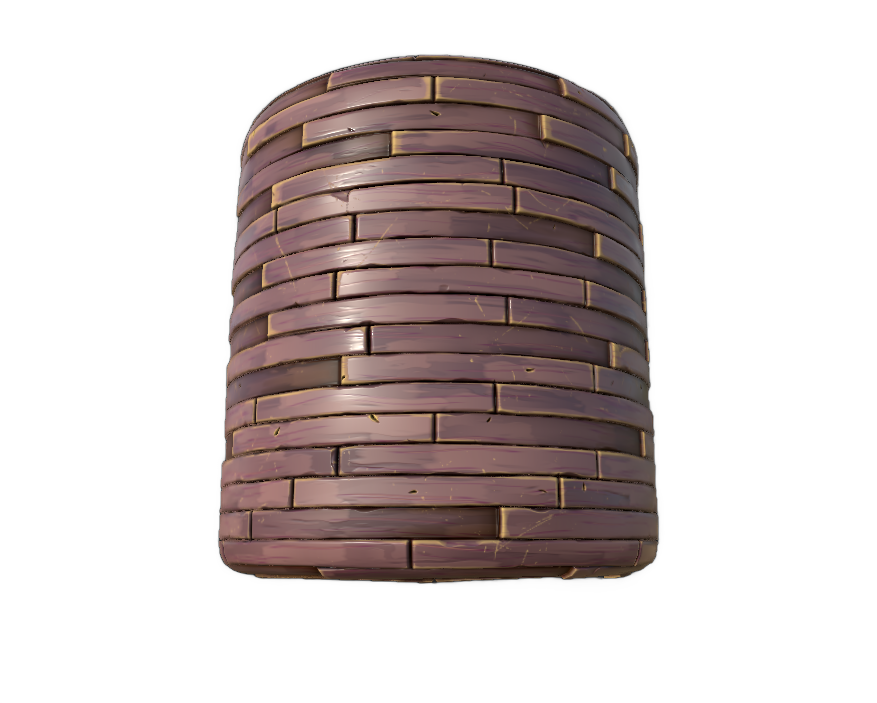
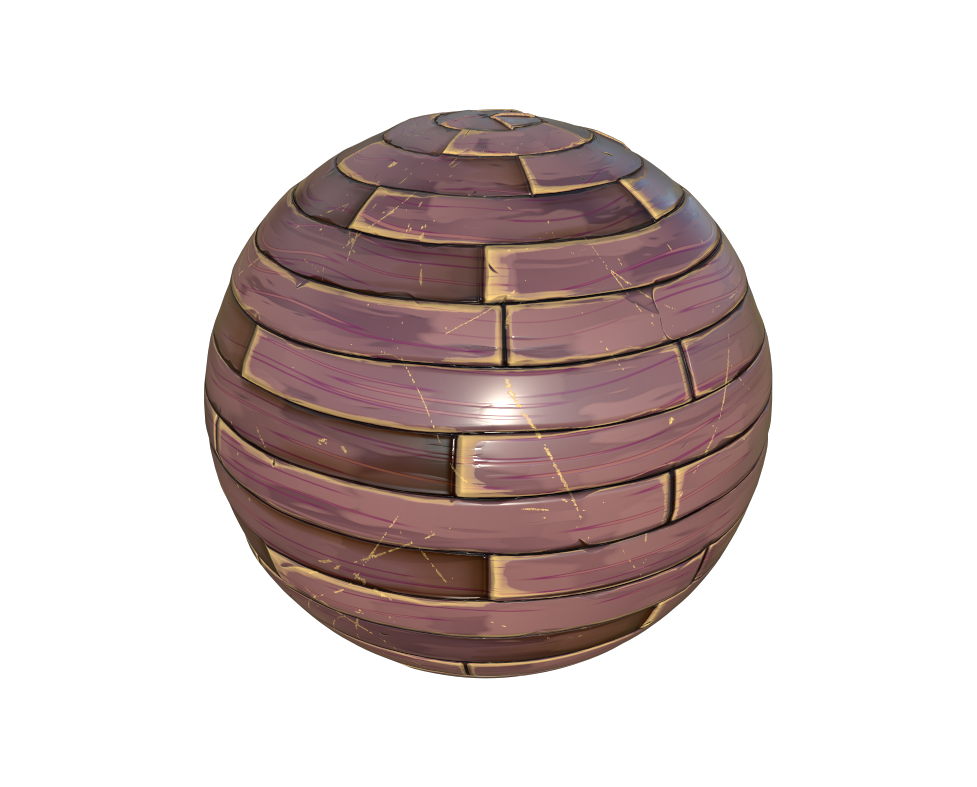
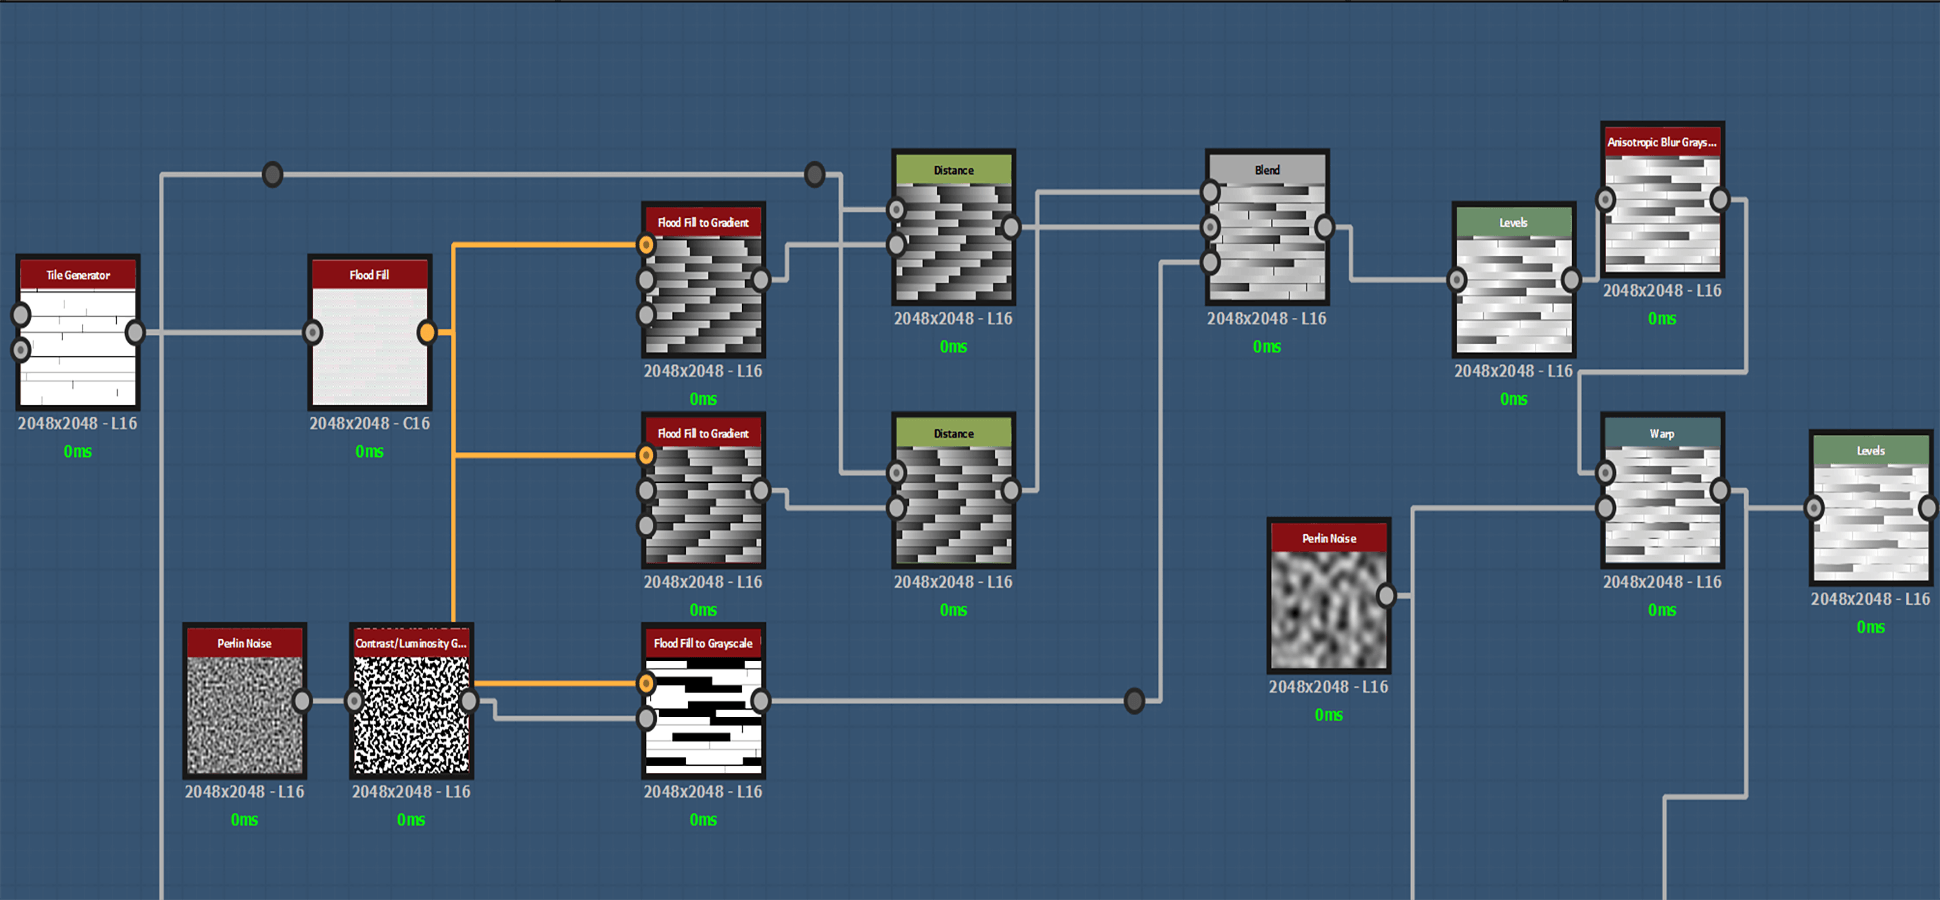
As my aim was to generate a tiles texture, the first node was obviously tile generator. Now in stylized environment, in general the tiles are not total flat leveled. There will be some bump variation among those tiles. So at first I was thinking of using simple gradient grayscale texture, but that was getting more complex to bring variations across the board. However, a node named “Flood Fill” which applies a variation color fillers on plain texture. And then another node “Flood fill to gradient” can be used with combination and convert that color to grayscale value. The advantage of using these nodes is that the resultant gradient will be distributed to all tiles regardless of tiles position. Also these nodes can be repeated and changeed the gradient route which will create more variation along the way.
Blending such multiple nodes will create a gradient effect of having two transition on all tiles, black to white and white to black or vice versa. This will create the effect of bumped tiles around whiter area and flat or lower depth around darker area. Now all tiles should not be bumpy, otherwise it will end up irritating the final scene. So to exclude the bumpiness on some tiles, I used a noise mask to flood fill to grayscale node in order to excluding some tiles. This way the final blend produced the irregular depth for whole tile.
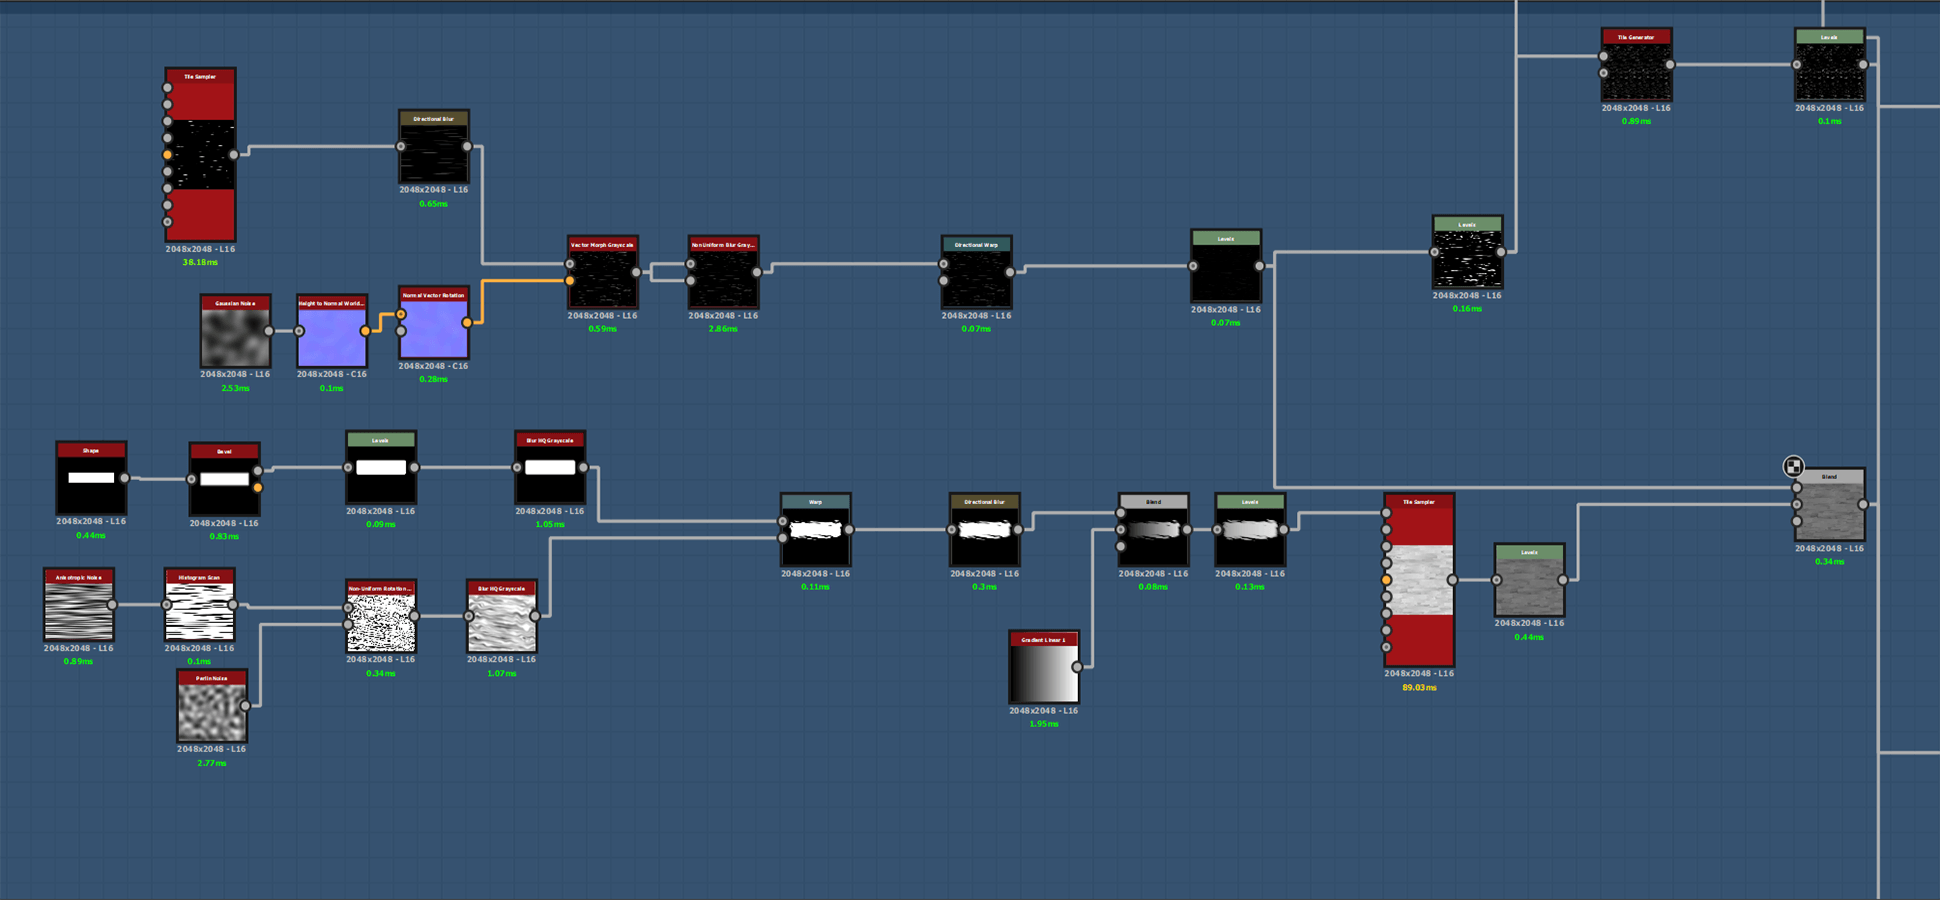
One of the eye caching details for wood is the pattern. Normally wood patterns are the result of exposed cellulose from cutting and refining woods. For stylize arts, these patterns look good with softer edges. I have used one of the method that I learnt from an awesome artist from 3dex on youtube. This method uses anisotropic noise and blur node wrapped to a rectangular shape. The result produces a soft looking pattern. After that I created another tile to blend with first tile set.
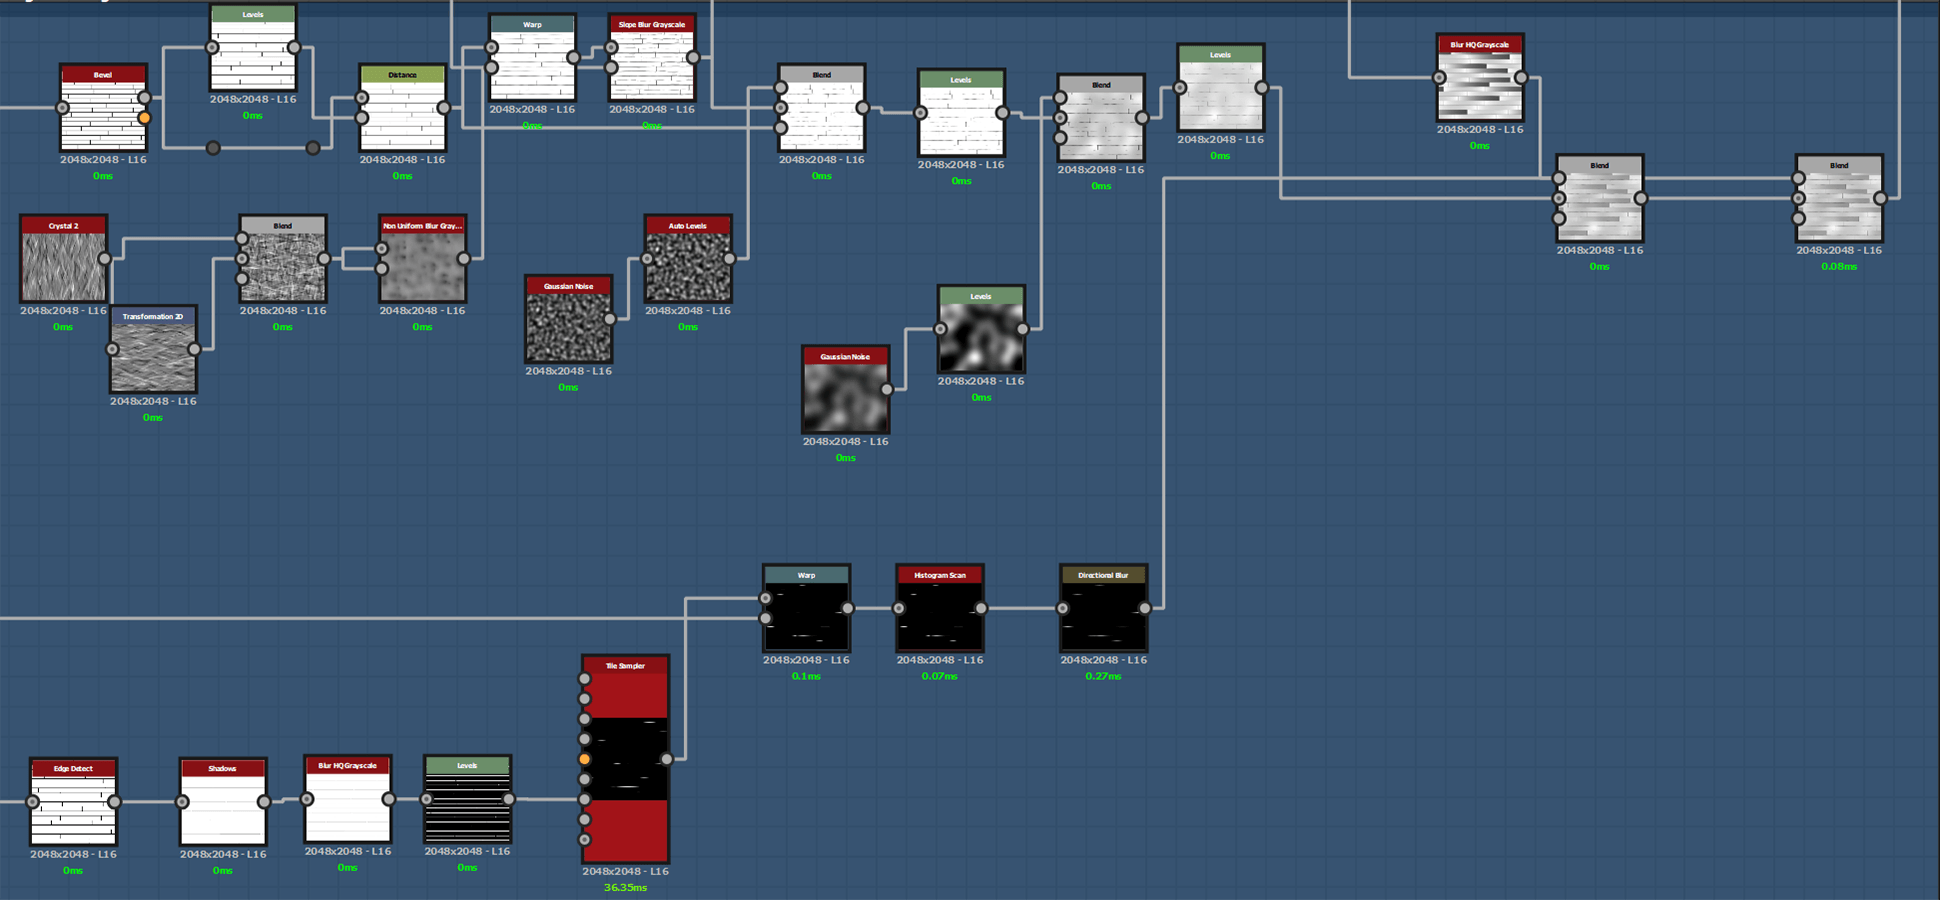
Another the eye caching details on wood planks are the decays and damages around the edges. It was easy to make from first tile generator node and edge detection. To produce irregular variation, I also used noise and wrap on another tile edge node. Finally blending them with gradient value was not easy. It was some trial and error to get a food result. I used level node a lot for this purpose.
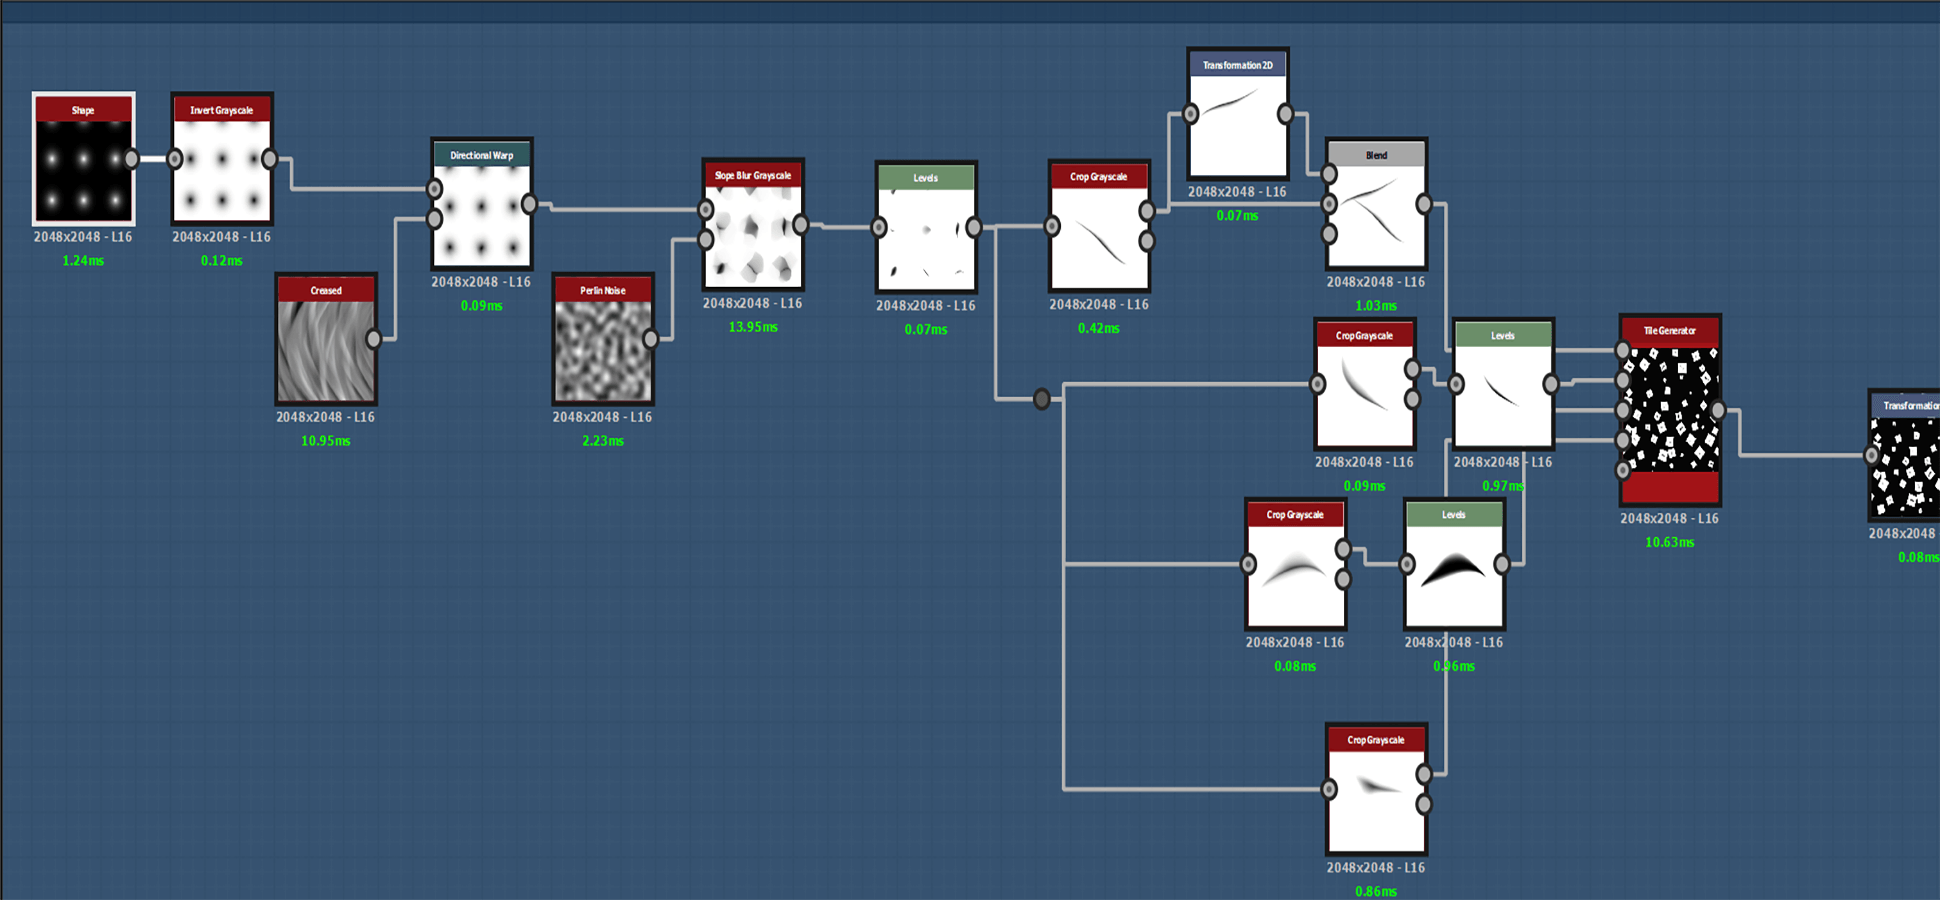
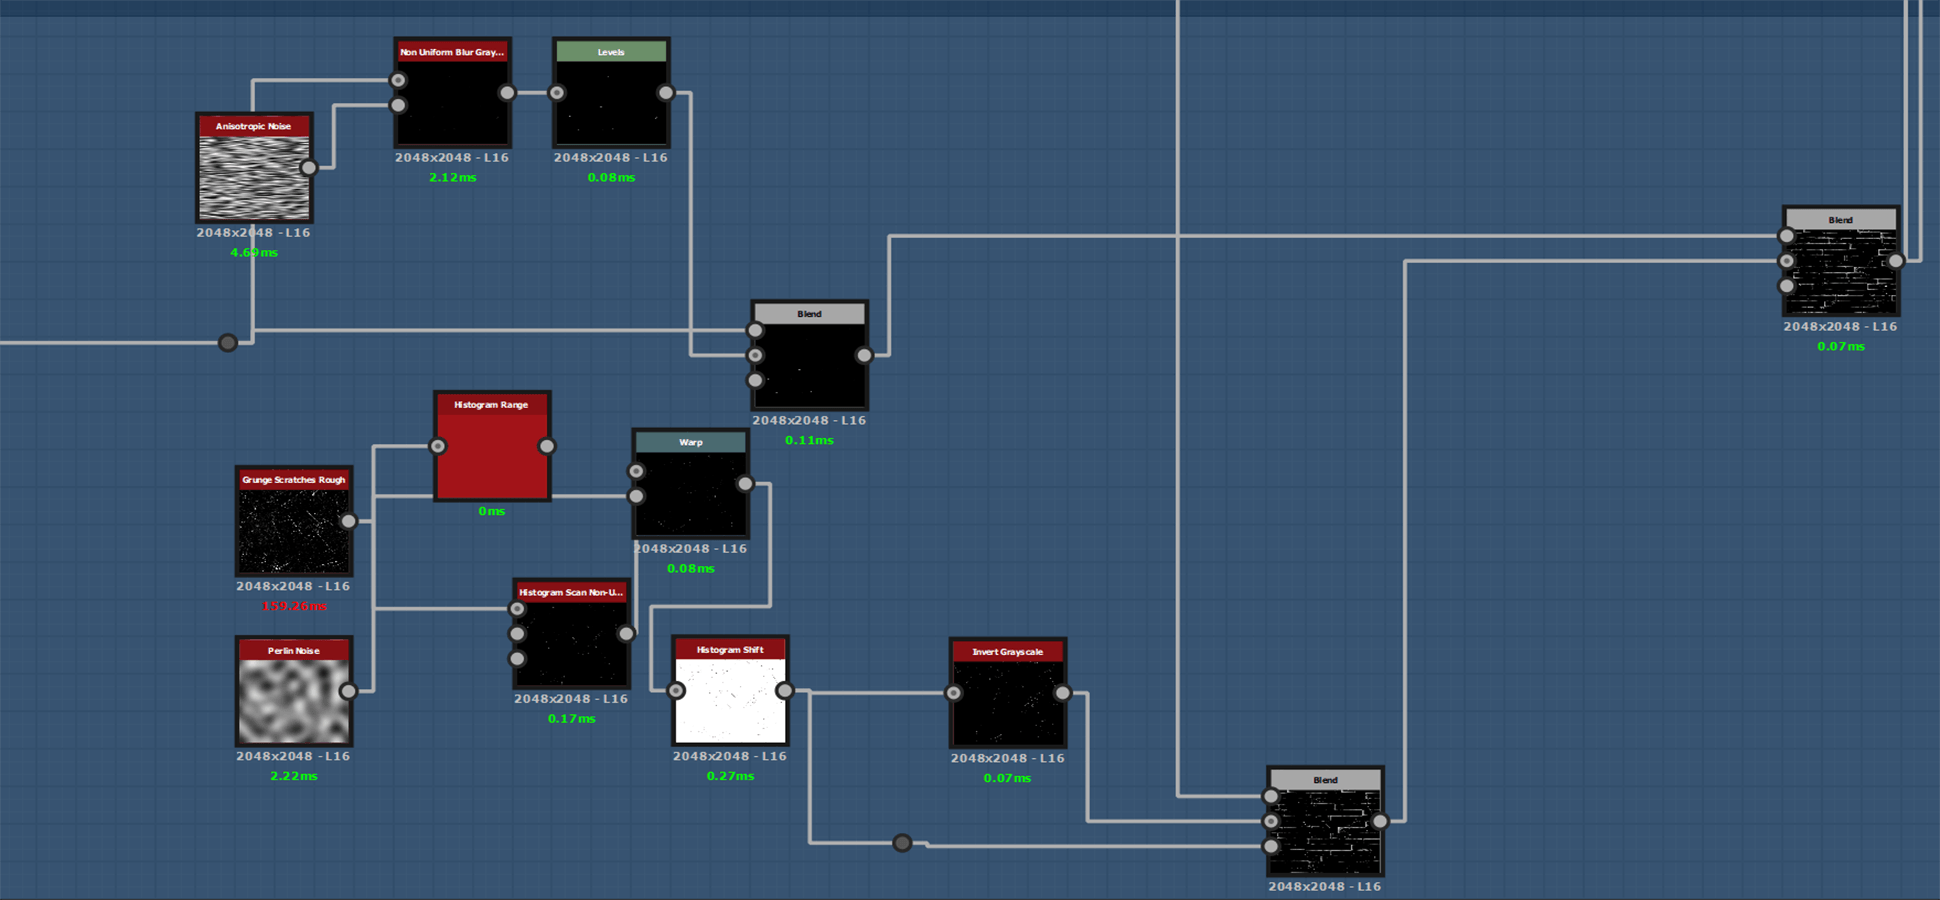
I also wanted to add knife cuts on wood planks considering it might be used in a fantasy environment. These knife cuts were created from nose node, isolated with histogram node and blur node to smooth out the edges. I have also made some scratch marks of moving objects over tiles as well while making them. The added colors and surface textures were kept clean and soft. There were some trials and errors with the overall texture making. I had to isolate some areas for textures. The result of some transition from darker paints to fade out was interesting and I liked how it ended up. Surely there are rooms for improvements and I will keep polishing this texture in future.
